
I’ve been playing with the idea of writing a more advanced tutorial on the subject for some time. But the problem I had was to decide which angle to approach the topic from, and how much explanation to include. There are so many possibilities, some easier than others. For example, you have choice in the kind of lumber you use to build your swing set frame and what type of saw you cut it with. Or, how about how much you spend or whether you buy or hire a contractor to build it for you?
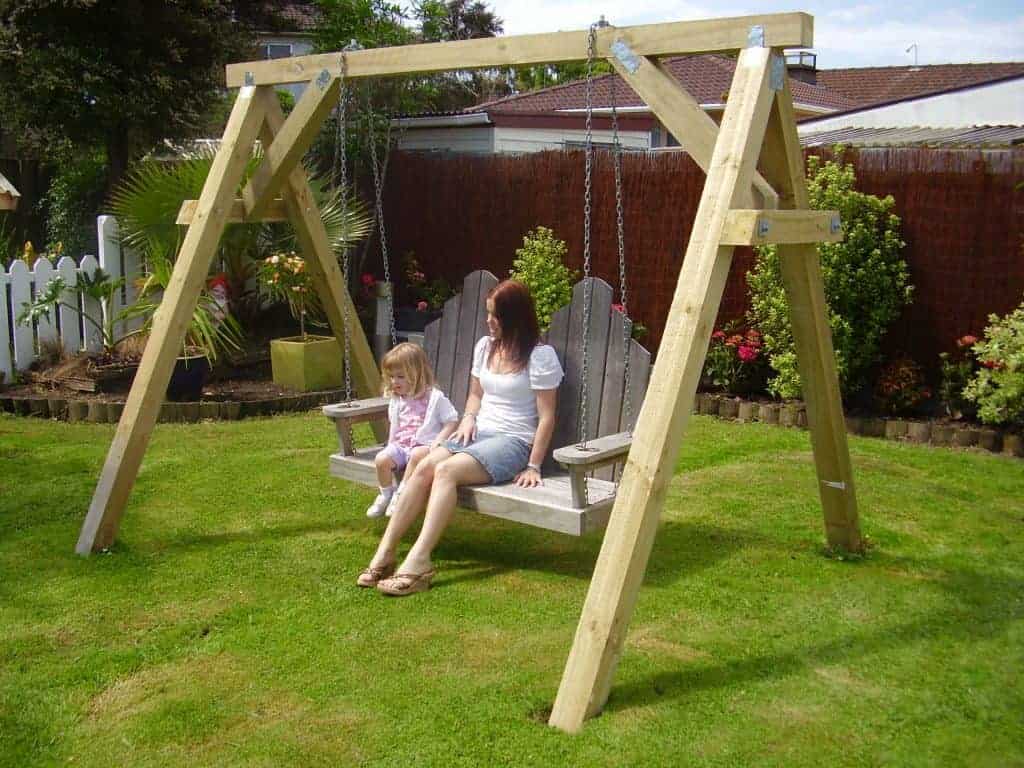
In this post I’ll show you how to build a swing frame with minimal tools. You can use your swing again on your backyard. I’ll explain how to build a swing and how to build a frame for a little tikes swing how to build a frame for a baby swing how to build a wood frame for a swing without the need of building a whole tree house.

how to build a frame for swing
The best way to build a frame for a swing is to use pressure-treated lumber. The pressure treatment prevents rot and decay, which can cause serious safety hazards if left untreated.
Step 1 – Cut Lumber
Measure the dimensions of your swing seat and cut two pieces of 2 x 4 pressure treated lumber to the correct length. Cut four more pieces of 2 x 4 that are 4 inches in length, and then place them on the ends of each of the longer pieces. These will be used as braces between each leg section. Place these braces against each leg section so they are flush with the bottom edge of the leg section, but leave at least an inch of space between them on top so you can fit in another brace later on in this step.
Step 2 – Attach Braces To Legs
Apply wood glue to both sides of each brace and attach it to one side of each leg section with nails or screws. Leave about 1/4 inch of space between each brace when attaching them together with nails or screws so there is room for you to fit another brace later on in this step.
How To Build a Swing Frame
A swing frame is a great way to add some fun and excitement to your backyard. It can be used for a variety of purposes, including as a place for children to play, as a way to relax or even as an entertaining area for adults. It’s easy to build your own swing frame out of wood, metal or other materials.
Here are some helpful tips on how to build a swing frame:
1. Measure the space where you want the swing frame to be installed. Make sure that there is enough room for all of the necessary components and that there is proper clearance between them. You also need to make sure that any nearby trees do not interfere with the installation process.

2. Draw up plans for your proposed swing frame design on paper before starting construction so that you can visualize what it will look like once it has been constructed in its final location and make any necessary changes before moving on with construction work. This will also help you determine whether or not any additional materials will be needed during construction work so that they can be obtained prior to beginning work on installing the actual swing frame structure itself if necessary since many stores do not stock large quantities of these specialty items at all times due to limited availability even
You can build a swing frame from a variety of materials, but the most common is wood. There are several tools that you will need to complete this project. You will need:
Woodworking saw
Hammer or mallet
Drill and bits
Sandpaper (optional)
The frame of a swing is the foundation of the whole thing. It’s what keeps everything together and prevents it from being just a bunch of parts. Once you have your frame built, you can start adding the rest of your swing parts.
Once you’ve got your materials together, you’ll need to cut them down to size. To do this, measure out how much wood you want to use for each part of the swing set and then mark where you want to cut with a pencil or pen. Use a saw (or handsaw) to cut through the wood until you reach those marks.
Once all your pieces are cut down, it’s time to assemble them into one big structure that will hold up your swing set. Find out how much space is available in your backyard, as well as how many people will be swinging at once (this will help determine how tall or wide you want your swingset). Then start building!
If you want to build a swing for your child, you can easily make one from wood. This DIY project is easy to do and only requires a few items.
The materials needed for this project are:
1. Wood boards (any thickness, but at least 1 inch thick)
2. Wood screws (1 1/4 inch)
3. Wood glue (optional)
How to Build a Wood Frame for a Swing
Swing sets are great for kids of all ages, but it can be difficult to find the perfect spot for one. If your yard is small, you may want to consider building your own swing set frame. The wood frame can be easily disassembled and moved if you decide to move, and it can also be used as a sandbox or playhouse once your children have outgrown it.
Materials Needed:
Wooden posts or poles that are at least 4 inches thick (can be salvaged from old swingsets)
5-foot length of chain link fence wire or other strong wire or rope
Wire cutters and pliers
Hammer and nails
A swing is a great addition to any backyard. It will entertain your children and keep them active in a safe environment. The best part of this project is that it requires only a few tools and some basic knowledge of carpentry.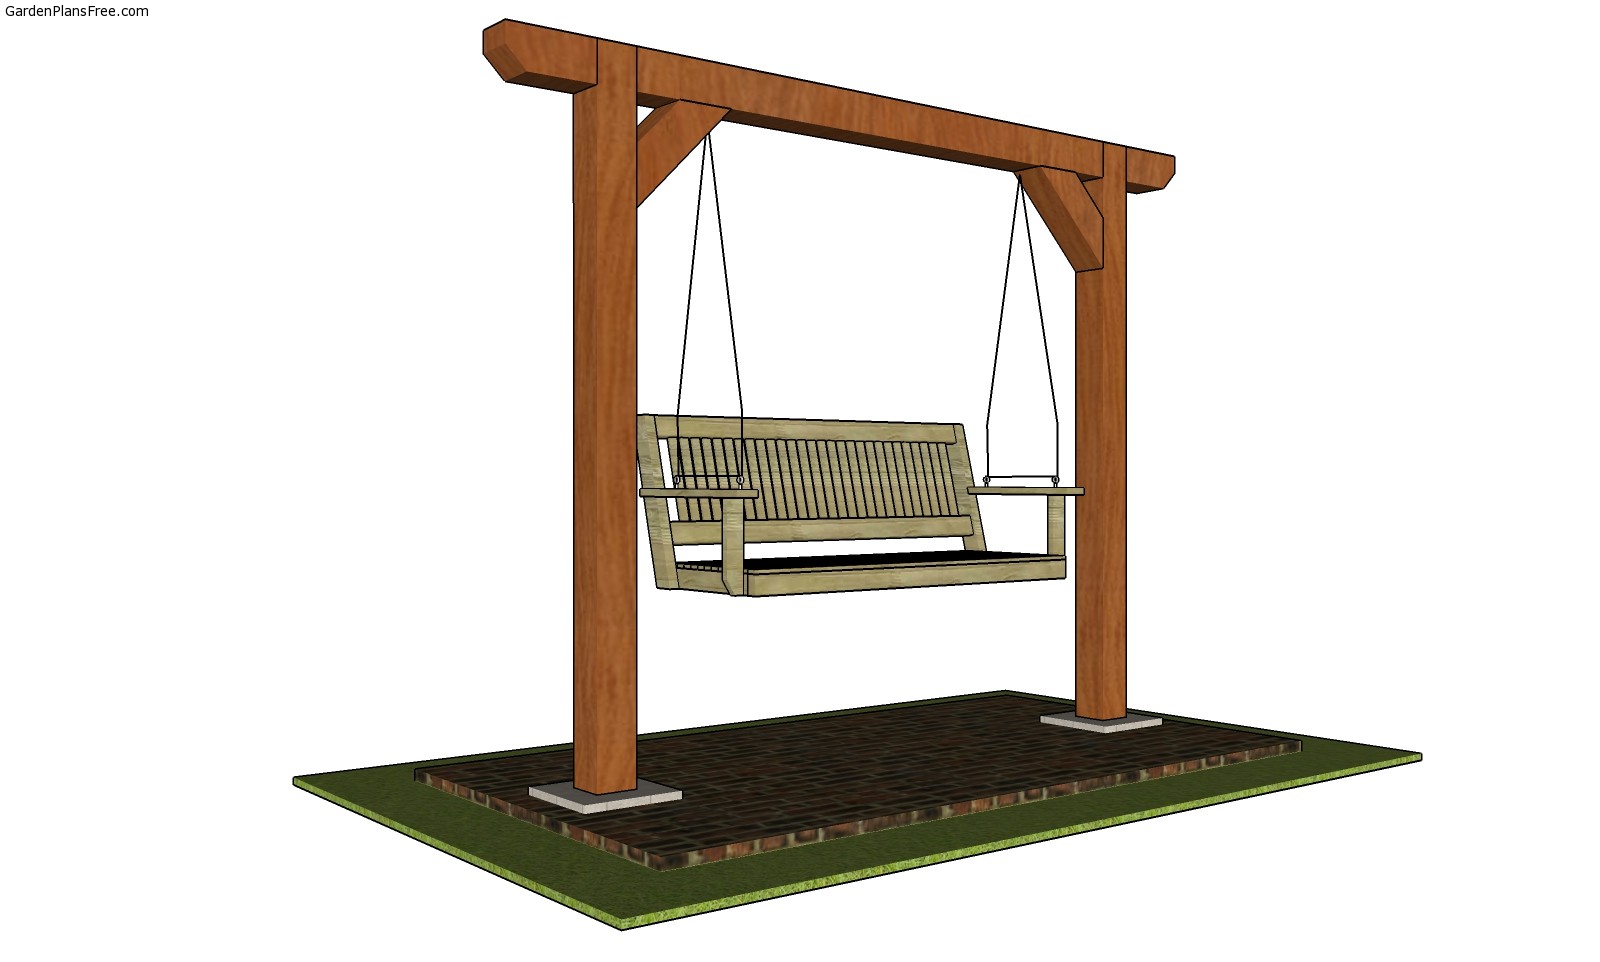
Here are the steps to build a swing:
Step 1: Measure and mark the area where you want to install the swing set.
Step 2: Use a tape measurer and make sure that you have at least 16 feet by 16 feet of space available for installation.
Step 3: Mark out the area with stakes and string so that you can see clearly where all your measurements will be placed for each part of the structure.
Step 4: Dig down about 6 inches deep in each corner of your marked off area and pour concrete into each hole until they are full, making sure there is enough room to lay plywood boards on top with at least 1 inch of space between them so that they won’t touch when they are finished drying out during curing time.