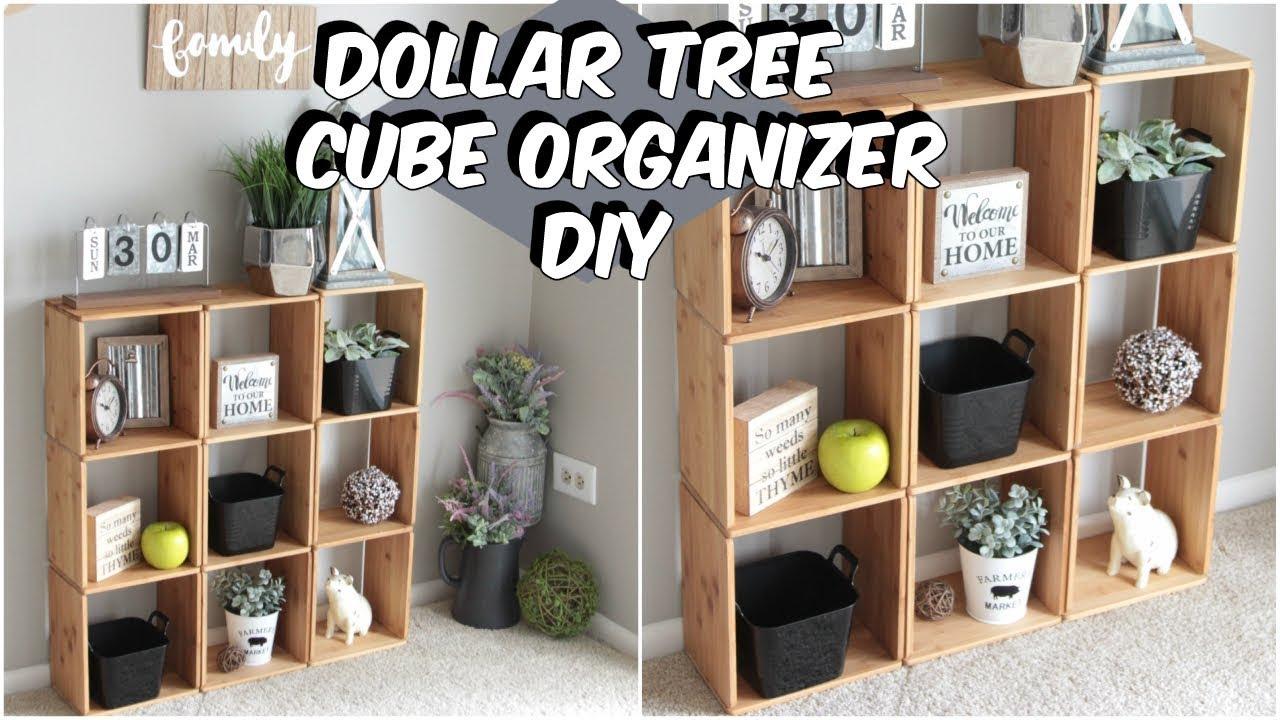
The cube shelf is an optimal choice for small spaces with a lack of storage options, as the shape creates much more room than what it actually seems.
Don’t let your running shoes cover up your beautifully organized closet. Look no further than this article when searching for the best way to build a cube shelf. You’ll find some DIY plans and tips in the next few minutes!
How to build a cube shelf
The cube shelf is a versatile piece of furniture that can be used in a variety of ways. It’s also an easy project to build and customize based on your needs.
Here are some DIY cube shelf plans to get you started:
Woodworking Plans for a Cube Shelf
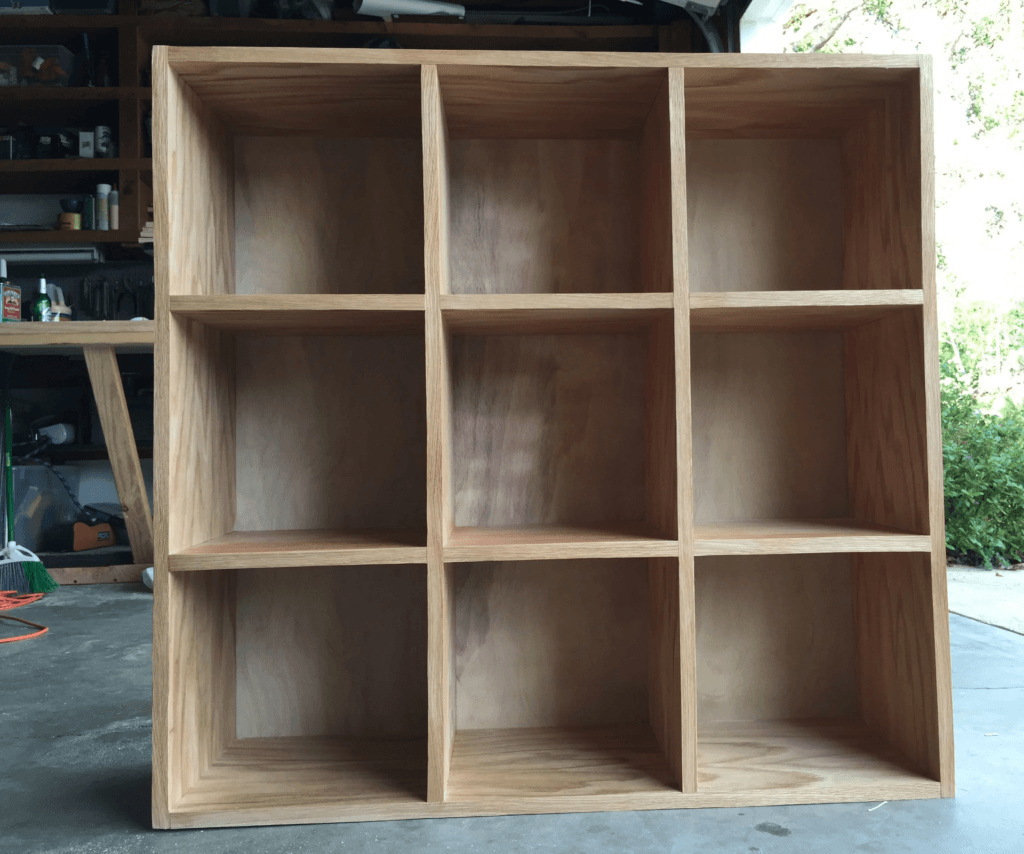
If you’re looking for woodworking plans, we’ll show you how to build this simple cube shelf from scratch using basic tools. The entire project should take less than an hour to complete, depending on the type of materials used.
The cube shelf is made of wood and is a great way to store books, toys and knickknacks in a kid’s room. The shelves are easy to assemble, so you can build one yourself in just a few hours. If you don’t have the time or skills to do it yourself, hire a handyman for the job.
Step 1: Cut the Wood
Cut your wood into rectangles that measure 2 inches by 4 inches by 8 feet long. This size allows each shelf to hold up to 50 pounds of weight. You will need four pieces of wood for each cube shelf.
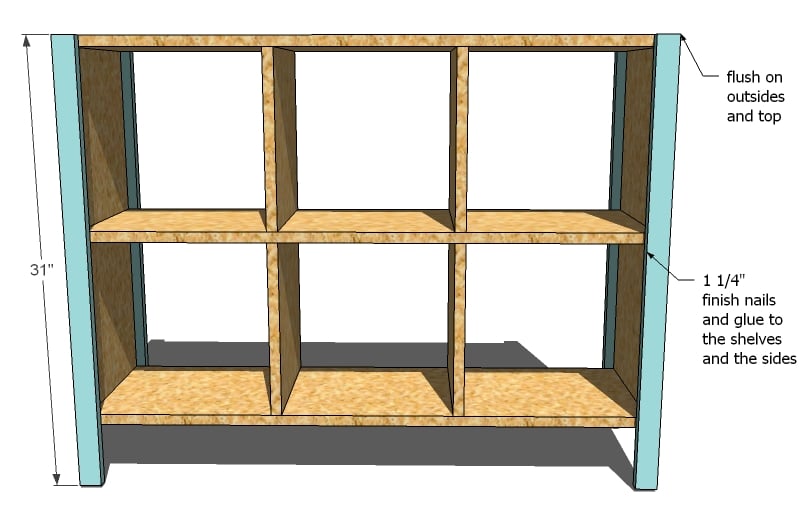
Step 2: Mount the Legs
Mount two legs on one end of each piece of wood using 2-inch screws and drill/driver bits so that they are evenly spaced apart from each other at 1½ inches apart. The other two legs should be mounted on the other end of each piece of wood at 1½ inches apart as well. Make sure that all four legs are facing inwards towards the center of your cube shelf so that they form an X shape when looking down on top of it from above.
Cube shelves are a simple and affordable way to add storage space to your home. They’re also a great way to display your favorite books, photos and small decorative items. The cube shelf can be used in the living room, bedroom or even the bathroom. They’re an easy DIY project that you can complete in one weekend.
The materials needed for this project include:
wood glue
wood screws (1 1/2 inch)
wood filler (if needed)
Cube shelves are great for storage. They can be used to store books, toys or just about anything else you want to display. Cube shelves are typically made from wood, but there are other materials that can be used as well.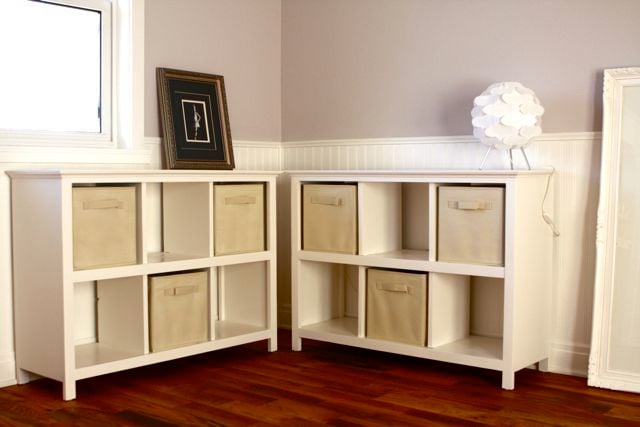
The simplest way to build a cube shelf is by purchasing a kit from your local hardware store. These kits will come with everything you need to make the project and some even have instructions included with them. If you don’t want to buy a kit though, there are some things that you need to know before you start making your own cube shelf:
Materials – You will need wood for building your cube shelf. You can use plywood or pine boards for this project but it needs to be 1″ thick or thicker if possible. You will also need glue, screws and paint if you choose not to stain or varnish your project when it’s completed
Tools – You’ll need some basic tools like a saw and screwdriver in order to build this type of shelf
Cube Shelves are easy to make and look great! Here’s how to make your own cube shelf.
In this video I will show you how to build a cube shelf. You can use these plans to build your own shelf. This is one of my favorite projects because it only takes an hour or so to complete and they look great!
The main thing that takes the most time is cutting the wood pieces to size and making sure they are square. If you don’t have a miter saw, try using a circular saw with a rip guide. This will help keep everything straight and square. You can also use square clamps or a framing square to ensure everything is straight as well.
I used 1x4s for this project but you could use any size board that will fit in your space. For example, if you want more room between shelves, use 2x4s instead of 1x4s.
Cube shelving is a great way to store your books and other items. It’s also a great way to add extra storage space to your home without having to build an entire room.
The best part about cube shelves is that they are easy to build and can be customized in many different ways. Here are some diy cube shelf plans that you can use as inspiration:
1) How To Build A Cube Shelf With Wood Slats
2) How To Build A Cube Shelf With Black Pipe And Plywood
3) How To Build A Cube Shelving Unit With 2x4s
4) How To Build A Cube Shelf From Plywood And PVC Pipe
DIY Cube Shelf Plans
Materials:
3/4″ x 3/4″ x 8′ Pine Boards (you will need 2 of these)
1 1/2″ Wood Screws (at least 50)
Wood Glue
Finishing Nails (optional)
Tools:
Miter Saw/Table Saw and Miter Box or Circular Saw and Speed Square.
The shelf is made of poplar wood and the legs are made of oak. I used a miter saw to cut the pieces and a drill to assemble it.
The plans for this project can be found at: http://www.theownerbuildernetwork.co/diy-cube-shelf-plans/
If you don’t want to make one yourself, check out my store for some ready-made cubes!
This DIY cube shelf is easy to make and can be used in so many different ways. You can put it on a table, in a closet or even in the bathroom.
The great thing about this project is that you don’t need any tools to build it. All you need are some wood panels and a hammer.
Materials:
1×2 pine boards (3 pieces)
1×2 oak boards (3 pieces)
Sandpaper or sander (optional)
Cube shelves are a great way to display your collectibles, but they’re not easy to find in stores. They’re also relatively expensive if you do find them, and you might not like the style or color.
If you want to build your own cube shelf, here’s how:
Materials needed:
-2×4 lumber (for the sides)
-1×6 lumber (for the top and bottom)
-1×6 lumber (for the posts)
-Stainable wood glue
-Wood stain (optional, depending on the look you want)
-Nails or screws