Building a curbless shower is not only fun to do, but it can be a cost savings as well. There are many steps that have to be followed and some unique challenges when building a curbless shower, since you’ll need to also create the curb for the shower.
how to build a curbless shower on wood floor,how to build a curbless shower on concrete,how to build a curbless shower without cutting joists
How to build a curbless shower
Building a curbless shower can be done in one of two ways, depending on whether or not you have access to a basement. If you’re building on concrete, it’s as simple as pouring a slab and framing out your walls. If you don’t have access to a basement, this is going to take some more work. You’ll have to frame out your walls and then pour concrete piers under them in order to support the weight of the structure.
Step 1: Digging
The first step is digging out where you want your shower. Make sure that the area is large enough for all of your plumbing needs and other features (such as drains). If you want an alcove on either side of the shower, make sure that they’re wide enough so that there’s enough room for someone to get in and out comfortably.
Step 2: Framing & Flooring
Once the dirt has been removed from the area, it’s time to start framing out your walls using 2x4s and plywood sheets. The walls should be at least 8 inches thick so that they can support their own weight without any additional attachments being necessary. As far as flooring goes, this can be anything from
There are two main types of curbless shower installations:
Curbless Shower on Concrete
If you’re building a curbless shower on concrete, the first step is to frame out the perimeter of your shower using 2x4s. You can use pressure-treated lumber if you want to protect it from the elements. Next, set your plywood flooring in place and screw it down. Then, install tile as necessary. For example, if you’re installing marble tile, you may need to cut the pieces down to fit between the studs of your frame. If so, make sure to use a wet saw rather than a dry saw because they don’t produce as much dust or noise.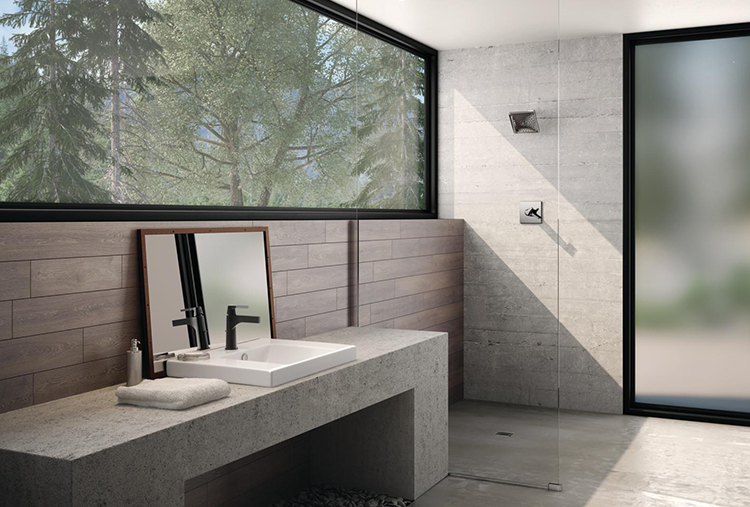
Once the tile is installed, it’s time to add your subflooring and drywall. You’ll want A/C-grade plywood for this step because it’s stronger than regular plywood and won’t sag under weight like regular plywood might (which could cause leaks). Cut out a hole for your shower head and install it along with any other plumbing fixtures that will be used in this room (i.e., toilets or sinks). After everything has been installed correctly and painted, place fiberglass insulation around each pipe
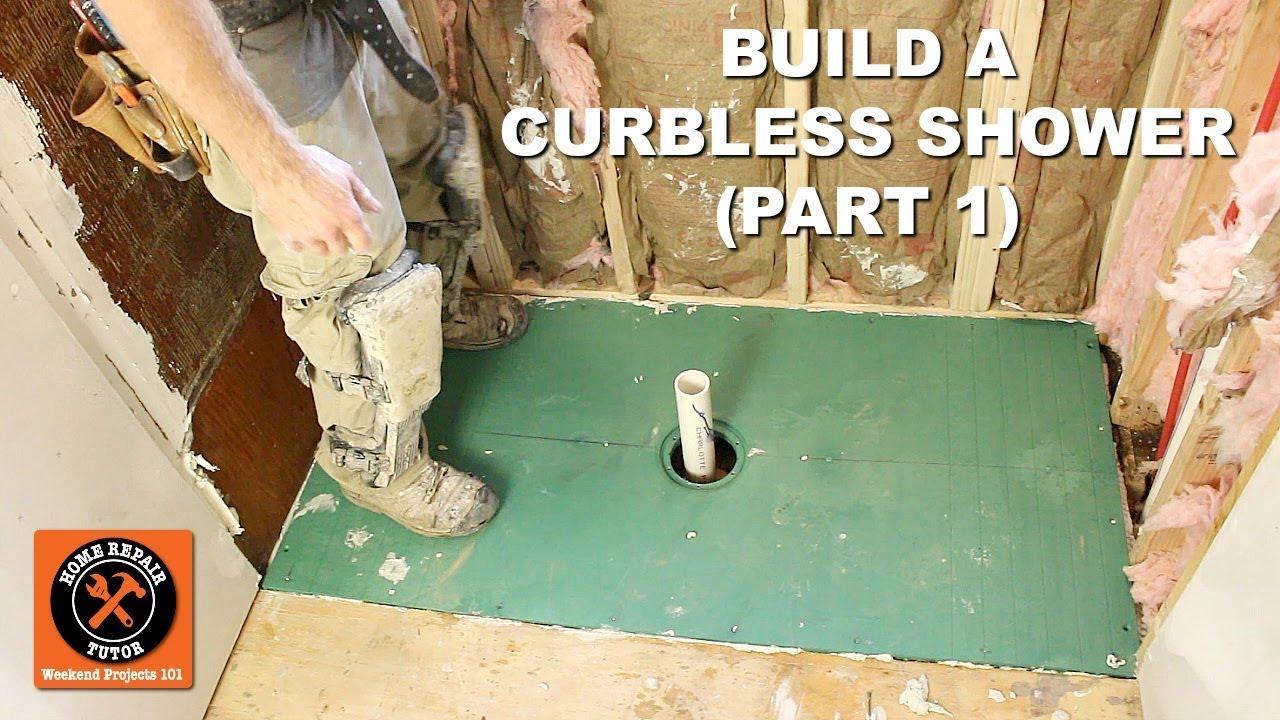
In this video, I’ll show you how to build a curbless shower on concrete. This is a very simple project and will only take you a couple of hours to complete.
If you have any questions or comments, please feel free to leave them below!
Materials needed:
Concrete
Shower pan liner (if you’re not tiling the bottom of your shower pan)
Waterproofing membrane (if you’re tiling the bottom of your shower pan)
Fiberglass batt insulation (for the walls)
2×6 studs (for framing)
Curbless shower installation is a simple process that can be completed by anyone with basic home improvement skills. The first step is to select the location for your curbless shower. You can install your curbless shower in a new build or remodel.

If you are installing the curbless shower in a new build, you will need to create a surface for the curbless shower to sit on. This can be done by pouring concrete or adding plywood to the floor joists.
If you are installing the curbless shower in an existing home, you will need to determine if there is enough room between the current tub and walls for the installation of your curbless shower. If there isn’t enough space, then you will have to remove part of your wall and add it back after installation is complete.
Curbless shower kits are a great way to update your bathroom. They eliminate the need for a curb and make it easier to clean around the tub. The only downside is they can be expensive, especially if you want something that looks good.
If you have some DIY skills, you can build your own curbless shower for under $100.
The first step is to find a spot in your home where the shower will go. You need to make sure it has enough space for everything. For example, if you want to install a door on the side of the wall, where would it go? How much clearance do you need between the bottom of the door and the floor? And does this spot have enough room for all of your plumbing?
Once you’ve found a place for your shower, measure its dimensions and write them down so you can buy supplies based on these measurements. You also need to measure how far away from each wall or other object it should be placed — this will help determine how many pipes are needed and how much space there is for them inside your wall or ceiling.
Next, decide on whether you want a tiled or non-tiled curbless shower kit. If
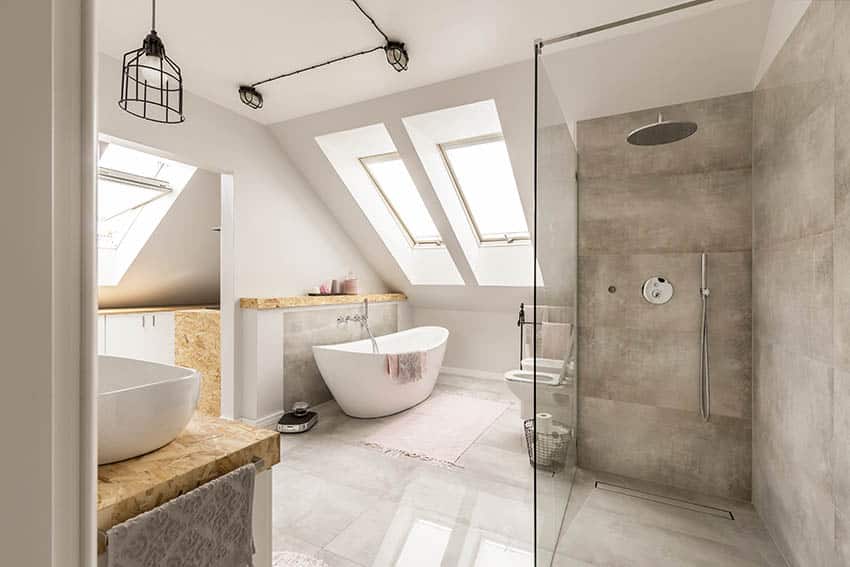
Curbless shower designs are a great way to add value to your home and make it look modern. However, they can be very expensive and difficult to install. That’s why we’re here to teach you how to build a curbless shower without cutting joists.
The best part about this project is that it will only take one day and only cost $1,000-$2,000! You can save even more money by building it yourself instead of hiring a contractor. We’ll also show you how to build a curbless shower on concrete or wood flooring!
A curbless shower is a great way to add style and comfort to your bathroom. This type of shower does not have a curb, which means that the water will drain directly into the bathtub or floor, instead of running down the side of the shower.
There are several ways to build a curbless shower without cutting joists. The easiest method is to build one on top of your existing floor, but you can also build one on concrete or wood floors as well.
If you have an unfinished basement, you may not have any joists in place yet. However, if you have a finished basement or crawlspace, then you may need to cut some joists before building your curbless shower. Check with an expert before cutting joists because this can be dangerous if done incorrectly and may void any warranties for your house.
Building Over Concrete or Wood Floors
If you want to install a new curbless shower over concrete or wood floors (such as hardwood), then you will need to frame out the area where your curbless shower will go first so that it will be level with both sides of the room. You can frame out this area by placing 2x4s across each other at equal distances apart from each other
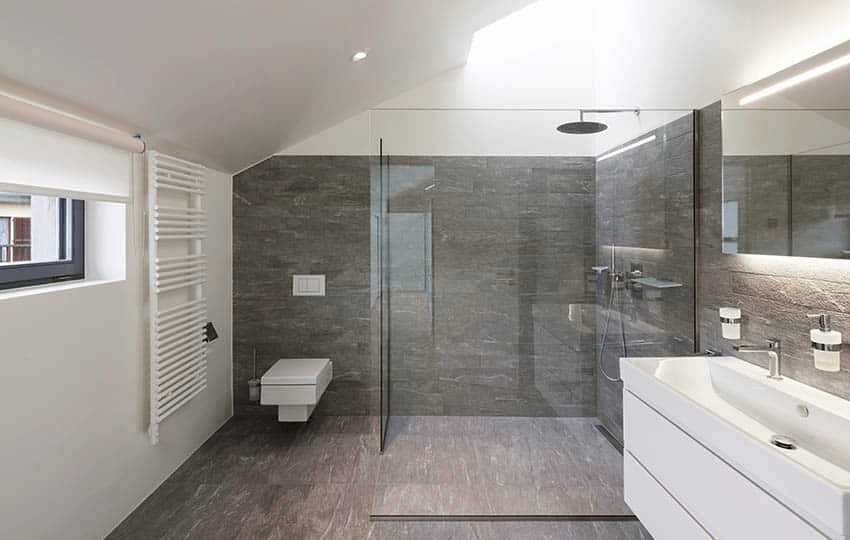
A curbless shower is a type of walk-in shower that doesn’t have a curb. This means that the shower floor is flat and you can walk directly into it from the rest of the bathroom.
The idea behind this kind of shower design is to make it easy for people to get in and out of the shower without having to step up or down, which is especially important for people with arthritis or other mobility issues.
The problem with many curbless showers is that they require some kind of support structure to keep them from sagging over time. This can be especially challenging if you’re trying to build one on concrete slab or wood flooring without cutting joists.
In this article, we’ll show you how to build a curbless shower on concrete slab or wood flooring without cutting joists using basic tools like hammers and nails.
This is a guide to building a curbless shower. There are two ways to do this:
The first is to build the shower on top of a concrete slab, which is how most people do it. The second option is to build the shower on top of a wood floor, which makes the job much more complicated, but also opens up some interesting design options.
This guide will focus on how to build a curbless shower on top of concrete (and also how to build one on top of wood flooring).
The easiest way to build a curbless shower is to use a curb kit. These kits include everything you need to build the curbless shower, including all of the plumbing fixtures and even the baseboard. The only thing you need to provide is the wallboard and flooring.
The first step in building a curbless shower is to install your subflooring. The subflooring will be what supports your flooring and makes sure your walls are level. You can install plywood or OSB as your subflooring material, but make sure that it’s thick enough so that it doesn’t bow when you put weight on it.
The next step is to install your tiled walls. You’ll want to make sure that they’re level with each other so that everything looks nice and even. Also, make sure that you measure out your tiles before installing them so that they fit properly into place.
When installing your tile walls, make sure that they overlap each other by at least 1/8 of an inch so that there won’t be gaps between them when they’re installed together later on in this process.
Now comes time for installing your baseboard materials along with any other trim pieces you may have chosen as part