When you set out to build a frame there are many things to consider. Learn about the basic components that are required for framing, how to choose the correct size, what types of wood and tools to use, how many different joints can be used and how you plan on painting and hanging your framed piece.
When faced with the difficult task of building a track frame, many cyclists are overwhelmed. Here are some basic tips to help with building your own track frame and how to build a frame roof, a frame building plans, how to build an a frame house step by step pdf.
.
how to build a frame
How To Build A Frame Roof
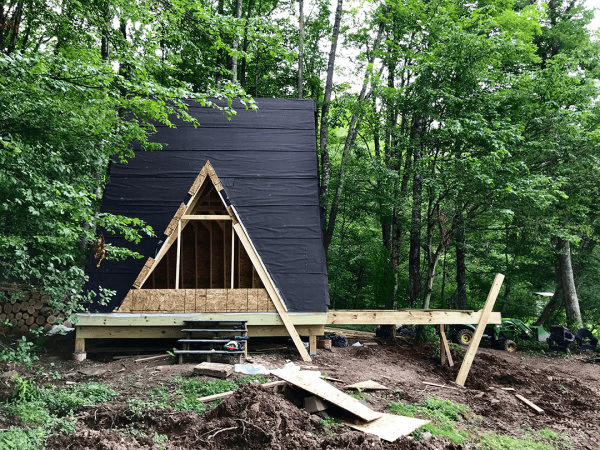
A frame houses are popular for their simplicity and low cost. They are also very easy to build and can be completed in a single weekend. In this article, I’ll show you how to build a roof for an A frame house using simple lumber and some basic hand tools.
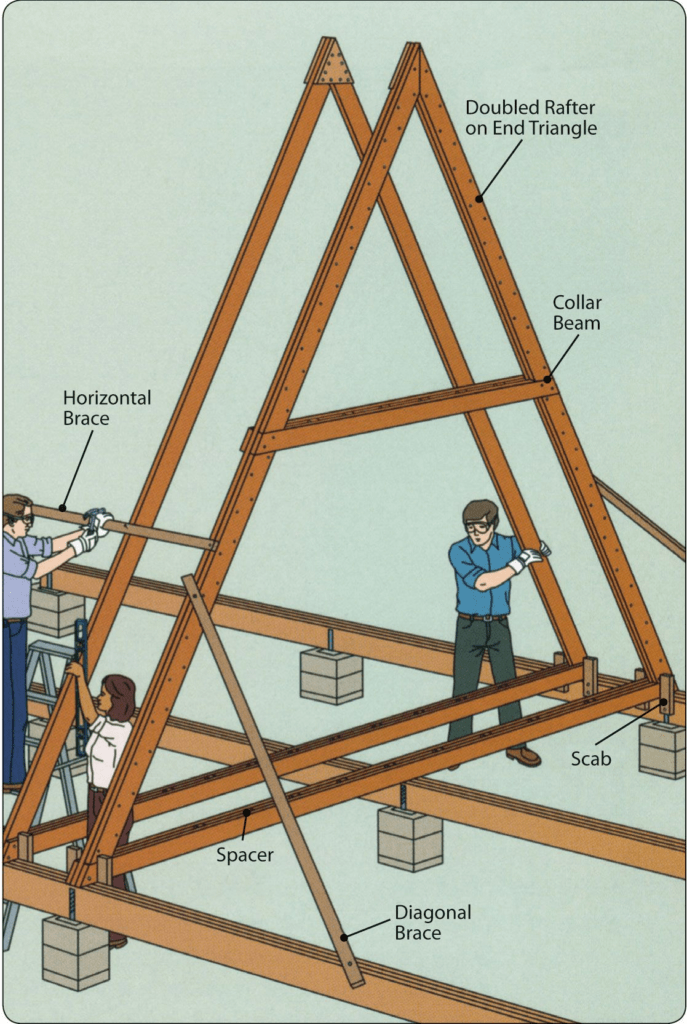
The first step is to cut the rafters and install them as shown in the diagram above. The rafters should be positioned 12″ apart with the top of each rafter 18″ above the bottom of the one below it. For a finished appearance, make sure they are all level with each other before nailing them together.
Next, attach the 2×6’s to the top of each rafter using 2″ deck screws (or nails if you prefer). The 2×6’s should be flush with the top edge of each rafter board as shown in the photo above.
Next, attach joist hangers to both sides of each 2×6 where it meets another piece of lumber (i.e. beam or wall). These will help support your flooring later on down the road…
How to Build a Frame Roof
A frame houses are popular in rural areas, where they can be built with little or no money down and no building permits. They’re also easy to build, especially if you use construction lumber instead of wood from trees on your property.
1. Lay out the floor plan for the house on top of plywood sheets. Make sure that the corners are square and that each wall is exactly as wide as the distance between two floor joists — typically 16 inches for 2-by-4s or 24 inches for 2-by-6s.
2. Cut the plywood sheets into individual wall panels using a circular saw with a plywood blade installed in it. It’s best to use full sheets because they’re easier to cut — you don’t have to worry about having a straight edge on each panel’s face because they’ll be covered with siding later on anyway.
3. Cut 2-by-4s or 2-by-6s into 16-inch lengths using a circular saw with a framing blade installed in it (and set up for cutting square) so that each piece fits between two panels when laid flat side by side on top of them. The corners will be built separately from these pieces later on
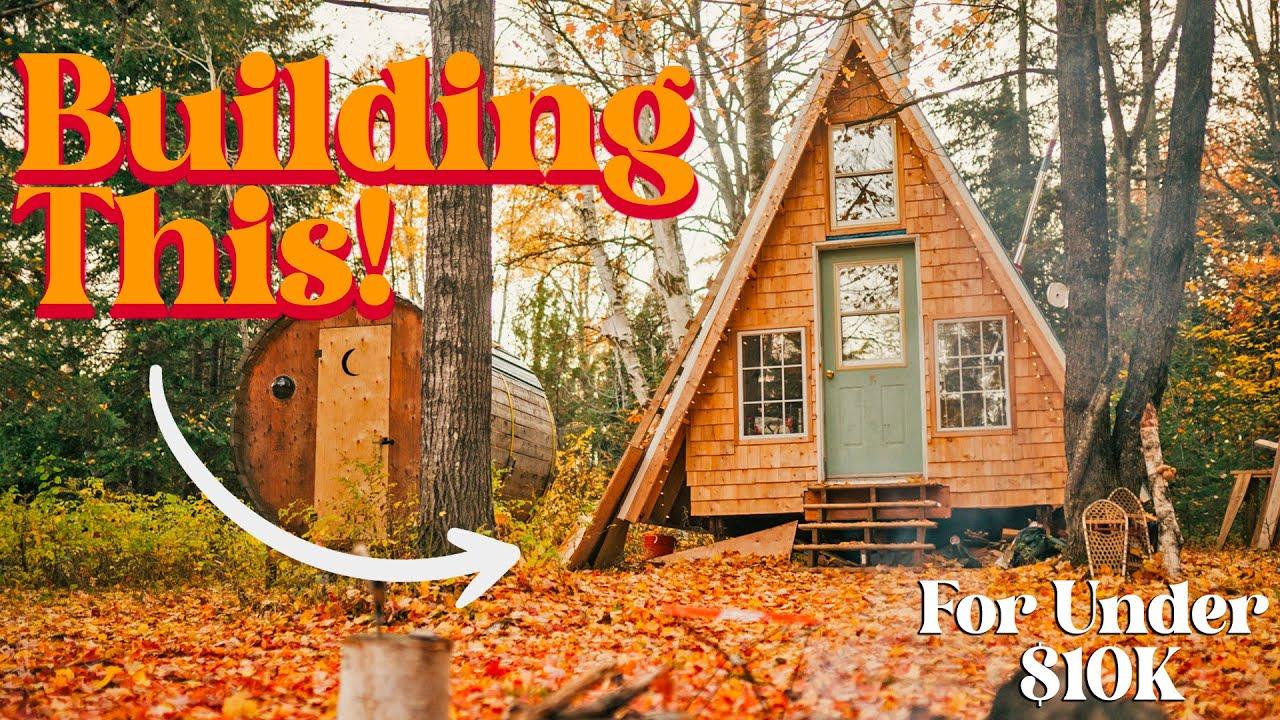
How to Build an A-Frame House
A-frame houses are one of the simplest and most popular types of houses. They are easy to build and provide a great living space. If you’re looking for a DIY project, you can build your own A-frame house easily with these plans.
The average cost of building an A-frame house is $15,000-$20,000 (not including land costs). This does not include furnishings or appliances, which can add to the total cost. Before you start building your A-frame house, make sure you have all the necessary permits from your local government. Also check with your insurance company to see if they will cover any damages that may occur during construction or as a result of natural disasters such as hurricanes and tornadoes.
Step 1: Creating the Foundation
The first step in building an A-frame house, or any other type of cabin, is to create a strong foundation. This is the most important step because if your foundation isn’t strong enough, your entire structure will be compromised.
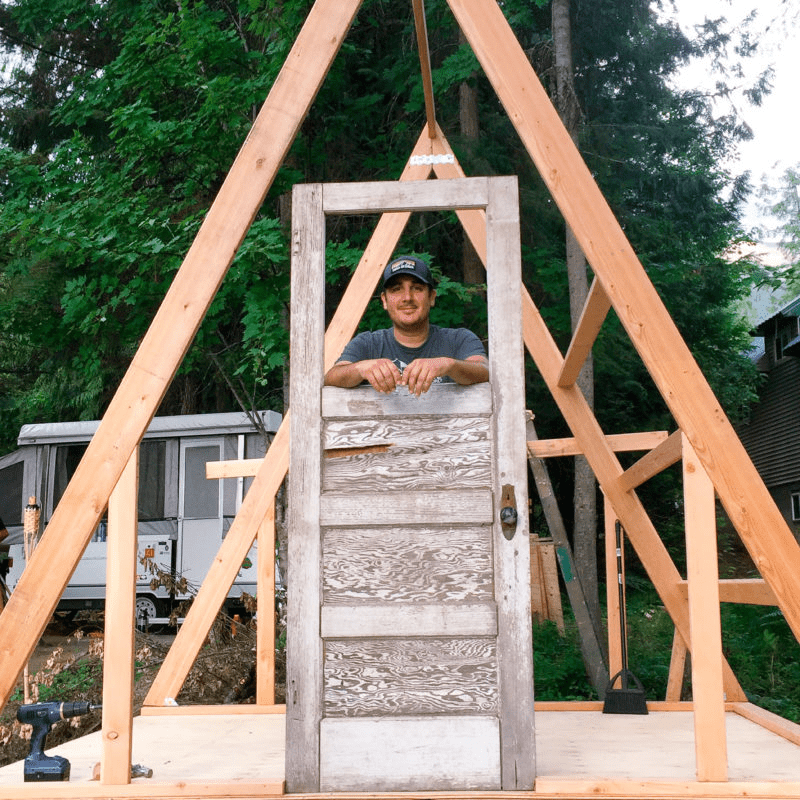
Step 2: Cutting Wood for the Walls
Once you have your foundation in place, it’s time to cut all of your wood for the walls and roof. You’ll need two sides that are 12 feet long, one side that is 8 feet long and one side that is 10 feet long. The roof should be made with two pieces of wood that are 15 feet long and two pieces of wood that are 12 feet long (the other two sides).
Step 3: Attaching the Walls to the Foundation
Once you’ve cut all of your wood into appropriate sizes, it’s time to assemble them into walls. First, attach one end of a side piece to one end of a corner piece using angle brackets. Then attach another side piece on top of this so that they form an “L” shape. Repeat this process with all four corners until you have created two walls with straight edges that connect at 90 degree angles at each corner.
1. Frame Plans
The first step in building a shed is to draw up the plans. You can use a simple program like Windows Paint to draw your own, or you can use a more advanced drawing program like AutoCAD or Sketchup to create your own detailed drawings.
2. Framing Materials
You will need to decide what material you want to frame your shed with. The most common choices are redwood, cedar, fir, pine and composite materials such as OSB (oriented strand board) or plywood. Redwood and cedar are very strong and durable but expensive while Fir and Pine are much less expensive but also less durable than redwood or cedar. Composite materials such as OSB (oriented strand board) or plywood offer a good compromise between strength, durability and cost since they are much less expensive than redwood or cedar but stronger than Fir or Pine.
3. Building Codes
Check with your local building department before starting any construction work to make sure that there are no zoning restrictions on how tall your shed can be built or how close it can be built to property lines etc…